Quilting Your Pieces
Here comes the part where a lot of garment sewists get a little intimated, but I proooooomise it's not as hard as you may think. Just take your time working through each piece (your seam ripper is always there if you need her ;) )

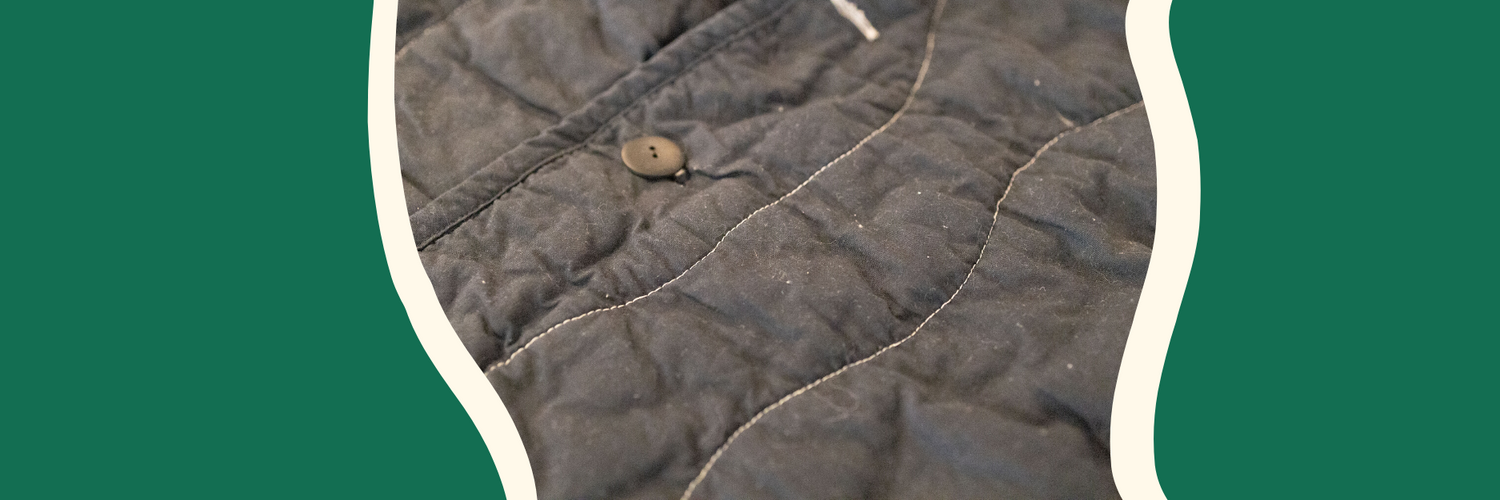
To start, we'll plan out your quilting lines! I recommend chalk, a fabric marker, or a herra marker. You're welcome to free hand it, use a ruler, or improvise once you hit the machine. Ultimately it's up to you, but I dread having to use my seam ripper, so I typically plan it out beforehand!
Once you've marked the lines on your pieces (or not. you spontaneous sewist, you.), we can head to our sewing machine.
I have two BIG tips for those that are new to the whole quilting thing.
1. Use a walking foot!!
A walking foot will be insanely helpful for preventing shifting between the three layers. It has it's own set of feed dogs that move the top along at the same time as your machine's feed dogs move the bottom along!
2. Start from the innermost line and work your way out!!
I can't stress this enough. The first quilt I ever made, I started from one side of the quilt and worked towards the other (it's tempting to do it this way, I totally get it), but then I ended up with a few inches difference between my top and bottom fabric. I really would hate for this to happen to you, so start on the center line please!!
Watch the video below to see my tips in action! After quilting is complete, we'll trim our pieces and then be ready for all things bias tape (eeeek) + quilt coat construction. Head here for part 3.

