Bias Tape 101 + Quilt Coat Construction
Now's when some hear the words "bias tape" and run for the hills!

But I'm BEGGING you - don't give up now :) We got this!!! Plus I'm going to share with you my secret weapon for attaching bias tape that looks nice and clean.
We'll start with a little explanation on what bias tape actually is.
Also known as bias binding, bias tape is a strip of fabric cut along the bias (diagonally) of a piece of fabric. Since it is cut along the bias, it has a good amount of stretch which allows it to finish curves nicely!
You may have also heard of something called "quilt binding" - this is NOT the same. It looks nearly identical but it is cut along the straight grain, so it will not have the same stretch. It is great for finishing straight edges, but won't work well on anything curved.
If you are buying premade bias tape, you may see it called "double fold bias tape quilt binding". That might be confusing, I know, but if it says the word "bias" on it then you should be good to go!
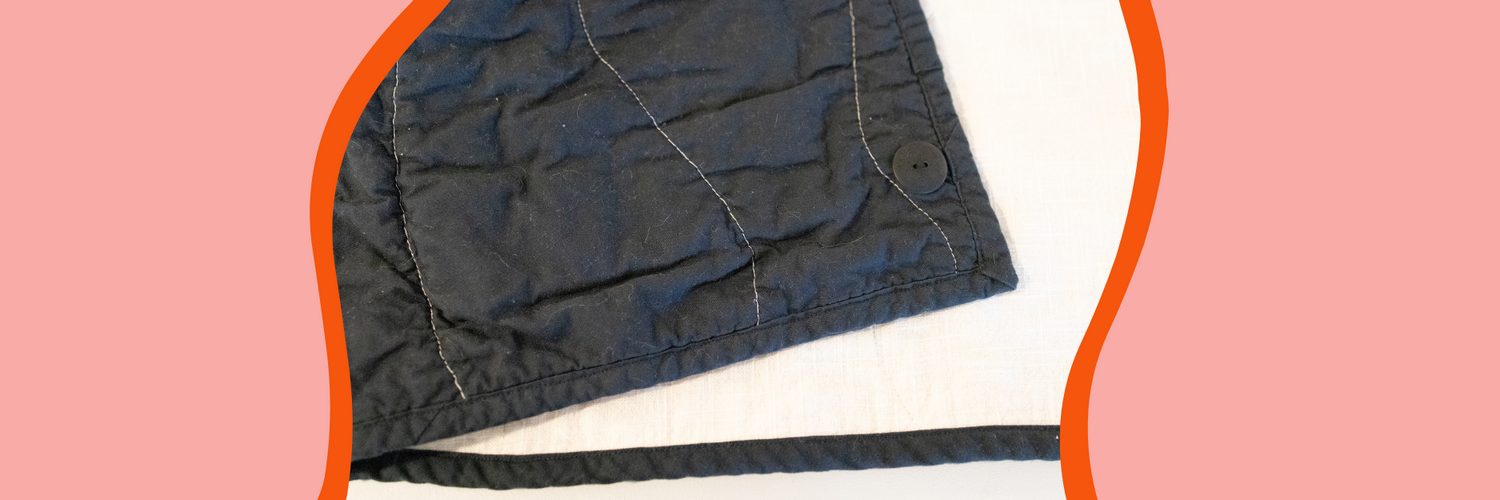
We'll be using bias tape to finish all seams and raw edges on our Gibson Coat.
You are more than welcome to buy it premade. It can be found in most big box fabric stores, but there are also tons of wonderful small businesses out there that sell premade bias tape in really lovely fabric that a lot of the big box stores won't have!
If you'd prefer to make your own you can follow the tutorial in the video below.
After you have made or purchased your bias tape, we can walk through how you'll attach it.
Finishing an edge with it and finishing a seam with it is nearly the same process, the only difference between the two is how much of a seam allowance you give when first sewing it in place!
There are generally three ironed lines on double fold bias tape - one for sewing it in place, one that sits on the edge after folding it over, and one to make the final edgestitch. When finishing a raw edge, you can generally sew right in that first line (1/2" seam allowance for 1/2" double fold bias tape), but when you finish a seam on the Gibson Coat I recommend sewing it in place slightly inside that line to account for the extra bulk when folding it over (3/8" seam allowance instead of 1/2").
Now I know that was kind of a lot.. If it doesn't quite make sense you can watch the video below!
Now that you know the methods we use to finish seams and edges, we can move on to constructing your coat! Follow along in the video below to see the order of construction.
And just like that you have a BEAUTIFUL quilt coat that you made with your own damn hands. Try it on and admire all the hard work that you put into it. I am SO proud of you :)
