If you've moved past all the beginner stuff in needle turn appliqué and are ready to take on a challenge - you'll want to dive into shapes with concave curves and points! I promise, it's not impossible. Just takes a little more maneuvering plus one extra step before sewing!
If you want to head straight to the video tutorial, just scroll to the bottom of this post. Highly recommended, as sometimes these kinds of things are easier to see than read about.
Concave Curves
To prep your piece with concave curves, you're going to make snips through the seams allowance, about every 1/4". It's important that your cut is going to, NOT through, the line you've drawn for your appliqué piece. You can sew as you normally would, but I recommend trying not to make your stitches come through on the snipped line, as it could cause the line to sever further.
If you have trouble going through these curved parts, I always recommend taking it slow and moving your stitches closer together. When in doubt, always make smaller, more gradual, stitches!!
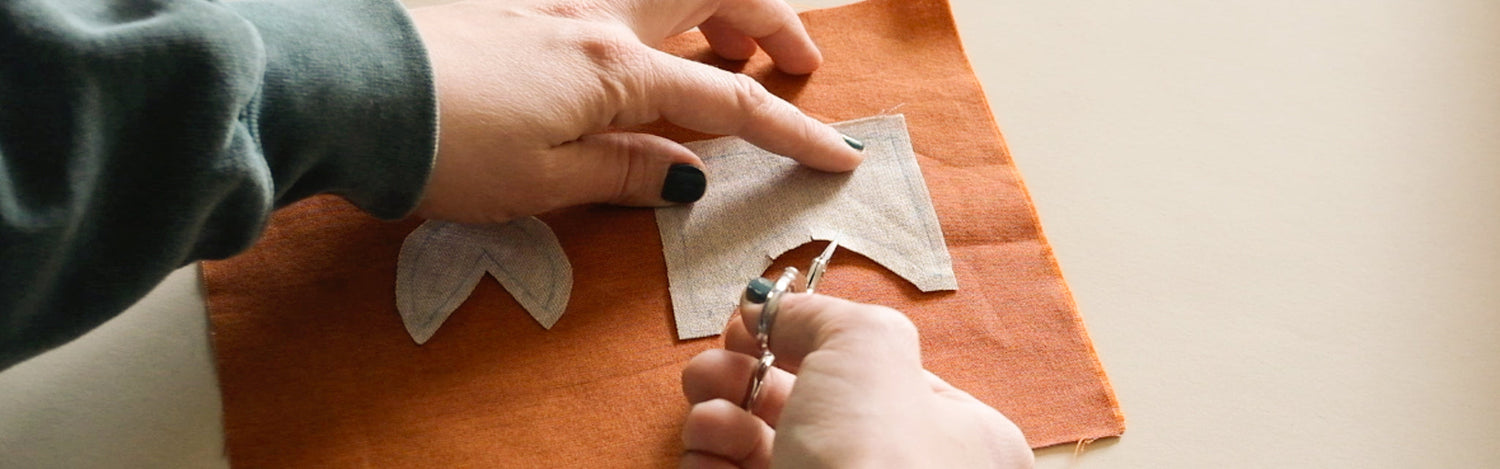
Points
For points, you'll make one snip through the tip of the point. Start sewing as you normally would, then when you're approaching the point you'll make a stitch very close and then come up directly through the point. When you come back down to secure the stitch, try going in as far as you can to the point without causing tugging on the piece. After that, continue as normal!
With just a bit of practice on this technique, you'll be a pro in no time.
Test it out on one of our intermediate/advanced kits or patterns!
0 comments