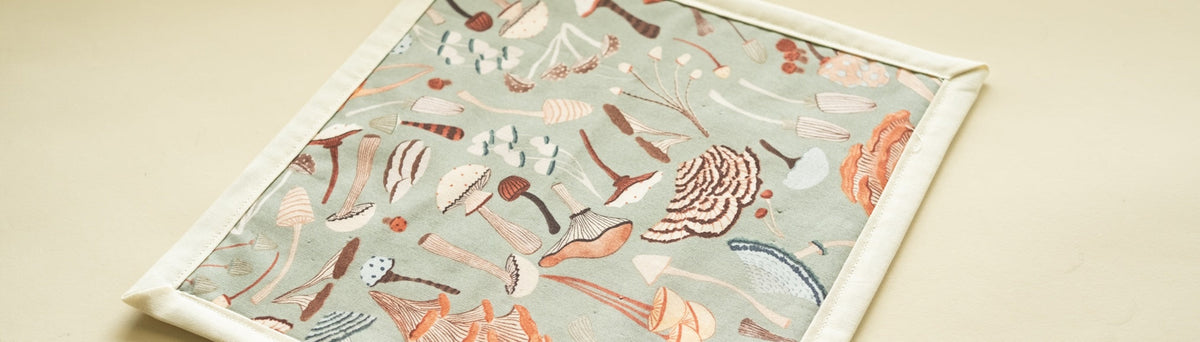
If you've ever seen appliqué patterns you love but wondered "what do I attach it to?!" - this tutorial is about to solve your problem! We're making a simple quilted wall hanging base that you can use for any appliqué design. It's basically a blank canvas for your creativity, and honestly, it's way easier than you think.
For the sake of keeping this manageable, I'm assuming you know the basics of cutting fabric and using a sewing machine.
What Makes This Method Great?
This is my go-to method because it's simple, doesn't require any fancy equipment, and you can make any size or shape you want! Plus, if you mess up? It's small enough that starting over isn't the end of the world. We're not making a king-size quilt here!
What You'll Need:
- Your top fabric (whatever you're putting your appliqué on)
- Quilt batting
- Backing fabric
- Bias tape OR quilt binding (I'll explain which one you need below!)
- Safety pins, basting spray, or needle and thread for basting
- Sharp fabric scissors
- Iron and ironing board
- Sewing machine
Ready? Let's make this happen!
Step 1: Cut Out Your Pieces!
Determine your shape and size - nothing fancy required! You're cutting three pieces of the exact same shape:
- 1 in your top fabric
- 1 in quilt batting
- 1 in backing fabric
Important note: Some people find it easier to sew on the appliqué to the background fabric now, prior to putting together the wall hanging. I find this to be personal preference, just something to think about before you proceed!


Step 2: Time for Basting!
If you're not familiar with basting, it's just temporarily holding your layers together until you can permanently sew them. Think of it as the rough draft of quilting! The bigger your piece, the more important this step becomes - shifting layers are nobody's friend.
Here's how to build your quilt sandwich:
- Lay down your backing fabric, wrong side up
- Place the batting on top
- Add your top fabric, right side up
Then you'll baste. Now you've got options for the actual basting:
- Safety pins (quick and reusable!)
- Basting spray (super fast but can get sticky)
- Basting stitches (thorough and reliable)
Pick whatever works for you - they all do the same job!

Step 3: To Quilt or Not to Quilt?
Here's where I give you permission to be lazy (in the best way)! For smaller pieces - I'm talking 10x10 or 11x14 - you can totally skip the quilting and go straight to binding. I've made dozens this way and they look great!
If you want to add some quilting, go for it! But don't feel like you HAVE to. This is about what works for your project and your timeline.
Step 4: The Binding (Where the Magic Happens!)
This is what takes your piece from "fabric sandwich" to "actual wall hanging"!
Quick decision time: Look at your shape. Got curves? You need bias tape because it stretches around those curves. All straight edges? Regular quilt binding is perfect! You can make your own or buy it premade - no judgment here!
How to Attach Your Binding:
Place your bias tape on the front of your wall hanging, right along the edge. Pin it in place - take your time here, neat edges make all the difference! Make sure you're laying it nice and flat to avoid puckering when attaching it down during the next step.
When you reach a corner, fold it up (in line with the side you are moving to), then back down along the side you are moving to. That part is a little hard to explain with words so I recommend referring to the pictures below!


Sew right in the fold crease closest to the edge (about 3/8" from the edge). Nothing fancy, just a straight stitch following that crease.


Now press the bias tape toward the edge with your iron. This helps it know where it's going next!
Fold the bias tape over to the back side and then fold under the raw edge as well. It should just cover your line of stitching with a tiny bit extra. Pin or clip it in place - clips are actually easier here if you have them!


Flip back to the front side and sew close to the edge of the bias tape towards the inside, about 1/8" away. You should be catching the back of the bias tape with this line of stitching if you lined everything up right to begin with. Go slow and pivot at those corners!

And You're Done!
Seriously, that's it. You've got yourself a beautiful wall hanging base! If you haven't attached the appliqué yet you are good to do so now. If you already did, hang that baby up and admire your hard work.


What Can Go Wrong? (And How to Fix It!)
If your layers shift while sewing: You needed more basting! Next time, add more pins or spray, especially around the edges.
If your binding looks wonky: Take your time and use tons of pins. Also, pressing each step really does make a difference!
If your corners are bulky: You might be overlapping too much binding at the corners. Try mitering them or just trim some excess.
If the backing shows on the front: Your binding might be too narrow, or you're not catching it evenly on the back. Go slower and check as you sew!
The whole point is to get your beautiful work up on the wall where people can see it! Don't stress about perfection - handmade means it looks handmade, and that's exactly what we want.
Questions? hello@itsallinthestitch.com - I'm always happy to help troubleshoot!
And seriously, when you make one, tag @itsallinthestitch or use #itsallinthestitch on Instagram. I LOVE seeing your finished projects!
Happy sewing!!
0 comments