If you're looking for the quickest way to add appliqué to your projects, raw edge appliqué is about to become your go-to technique! This method uses fusible interfacing to stick your shapes down, leaving the edges raw and exposed for a modern, textured look. You can leave them as-is for a casual, frayed aesthetic, or finish them with decorative stitching - either way, it's fast and fun!
For the sake of keeping this post manageable, I'm assuming you have basic sewing skills down. If you're brand new to sewing, no worries - check out my other tutorials first to get comfortable with the fundamentals!
What Makes Raw Edge Appliqué Special?
Unlike other appliqué methods where you're folding or finishing edges, raw edge appliqué embraces the unfinished look! You simply fuse your fabric shapes to your background and you're basically done. No seam allowances to turn, no edges to clip, no fussy hand stitching (unless you want to!).
This technique is perfect for projects where you want a more casual, modern look, or when you need to finish something quickly. It's also great for layering multiple shapes since there's no bulk from turned edges!
What You'll Need:
- A sewing machine (optional - for finishing edges with stitching)
- A prepped/threaded needle if hand stitching
- Sharp fabric scissors
- Paper-backed fusible web (like Heat n Bond Lite or Wonder Under)
- Printer paper and pen for your template
- Marking tool
- Iron and ironing board
- Fabric for your appliqué shape
- Fabric for your backing/background
Got everything together? Let's get started!

1. Create Your Template
Draw or trace your design onto printer paper. Raw edge appliqué works great for ANY shape - simple or complex! Since you're not dealing with turned edges, you can do really intricate designs without the frustration.
Cut out your paper pattern.
2. Trace onto Fusible Web
Here's an important note - fusible web will create a MIRROR IMAGE of your pattern, so if your design has a specific direction (like letters or asymmetrical shapes), you need to trace it in reverse!
Place your paper pattern FACE DOWN on the paper side of your fusible web. Trace around it with a pencil or pen.
If you're doing multiple shapes, you can arrange them efficiently on the fusible web to minimize waste!

3. Rough Cut the Fusible Web
Cut around your traced shape(s), leaving a rough margin. You don't need to be precise here - just cut enough to make each piece manageable. You'll trim to the actual line later!
4. Fuse to Your Fabric
Place your fusible web piece (with the rough shape you just cut) fusible-side-down onto the WRONG side of your appliqué fabric. The paper side should be facing up so you can still see your traced line!
Following the manufacturer's instructions for your fusible web, press with a hot dry iron to fuse it in place. Usually this means pressing for a few seconds - don't slide the iron around, just press down!
Let it cool for a moment before handling.

5. Cut Out Your Shape
Now cut along the traced line on the paper backing. Cut carefully since this is your finished edge - whatever you cut is what will show!
Once you've cut out your shape, peel off the paper backing. You should see the fusible adhesive on the back of your fabric shape.

6. Position and Fuse to Background
Arrange your appliqué shape(s) on your background fabric, adhesive-side-down. Take your time with placement - once it's fused down, it's pretty permanent!
When you're happy with the positioning, press with your iron according to the fusible web instructions. Make sure to press firmly and hold for the recommended time to get a good bond.
Let everything cool completely before moving to the next step!


7. Finish the Edges (Optional!)
Here's where you get to choose your own adventure:
Option 1: Leave them raw! If you want that casual, textured look, you're done! The edges will fray slightly over time and with washing, creating a soft, dimensional effect. This works especially well for decorative projects that won't be washed frequently.
Option 2: Satin stitch the edges Using your sewing machine, set it to a satin stitch (a tight zigzag stitch) and stitch around the entire edge of your appliqué shape. This not only secures the edges but adds a nice finished, polished look. You can use matching thread for a subtle finish or contrasting thread to make the stitching a design element!
Option 3: Straight stitch or decorative stitching Run a straight stitch about 1/8" from the edge all around your shape. This secures the edges while still allowing them to fray a bit for texture. You can also use any decorative machine stitch you like!
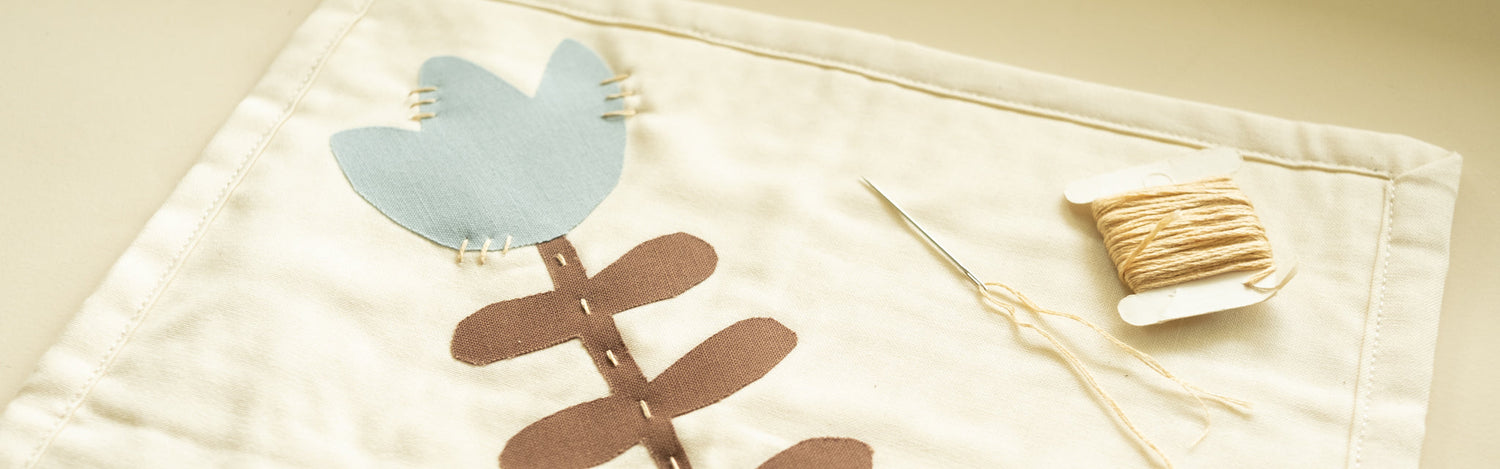
Option 4: Hand stitch If you prefer hand sewing, you can use a running stitch, blanket stitch, or any decorative hand stitch around the edges. This adds a handmade touch and can be really beautiful!
And that's it - you've completed a raw edge appliqué piece!


Tips for Success:
Use a pressing cloth if you're worried about getting adhesive on your iron or ironing board. Better safe than sorry!
Pre-wash your fabrics before starting. The fusible web bonds best to clean fabric without finishes or sizing.
Don't over-handle your pieces after fusing. The bond is strong, but rough handling before any stitching can loosen edges.
Test your fusible web on scraps first to make sure you like how it feels and how well it bonds. Different brands have different weights and stickiness levels!
For letters or directional designs, remember to trace them in REVERSE on the fusible web, or they'll be backwards when you fuse them down!
If finishing with satin stitch, practice on scraps first to get your tension and stitch width right. A good satin stitch should be smooth and cover the raw edge completely!
What Can Go Wrong? (And How to Fix It!)
If the fusible web won't stick: Your iron might not be hot enough, or you didn't press long enough. Try pressing again with more heat and hold for the full recommended time. Make sure you're using a dry iron (no steam!).
If edges lift after fusing: The bond might not be strong enough. Press again, or consider stitching around the edges to secure them permanently.
If your fabric puckers when fusing: You might be using too much heat or pressing too long. Also make sure your background fabric is smooth and flat before fusing!
If the paper backing won't peel off: It might not have cooled enough, or didn't fuse properly. Let it cool completely, then try again. If it's still stuck, heat it briefly and try peeling while it's still slightly warm.
When to Use Raw Edge Appliqué:
This method is fantastic for:
- Quick projects where speed matters
- Modern, casual aesthetics
- Kids' projects or things that will be loved and washed frequently (the frayed edges add character!)
- Complex or intricate shapes that would be difficult with turned edges
- Layered designs with multiple overlapping shapes
- Wall hangings and decorative pieces that won't be washed
It's maybe not the best choice for:
- Projects where you want a very formal, traditional look
- Items that need to be very durable with no fraying (unless you finish the edges with stitching!)
The whole point of this is having a creative outlet, and nothing will crush that spirit like holding yourself to impossible standards!! Raw edge appliqué is forgiving and fun, so experiment and see what you like best.
Happy sewing!!
1 comment
Thanks for raw edge applique…very easy to understand