Step 1
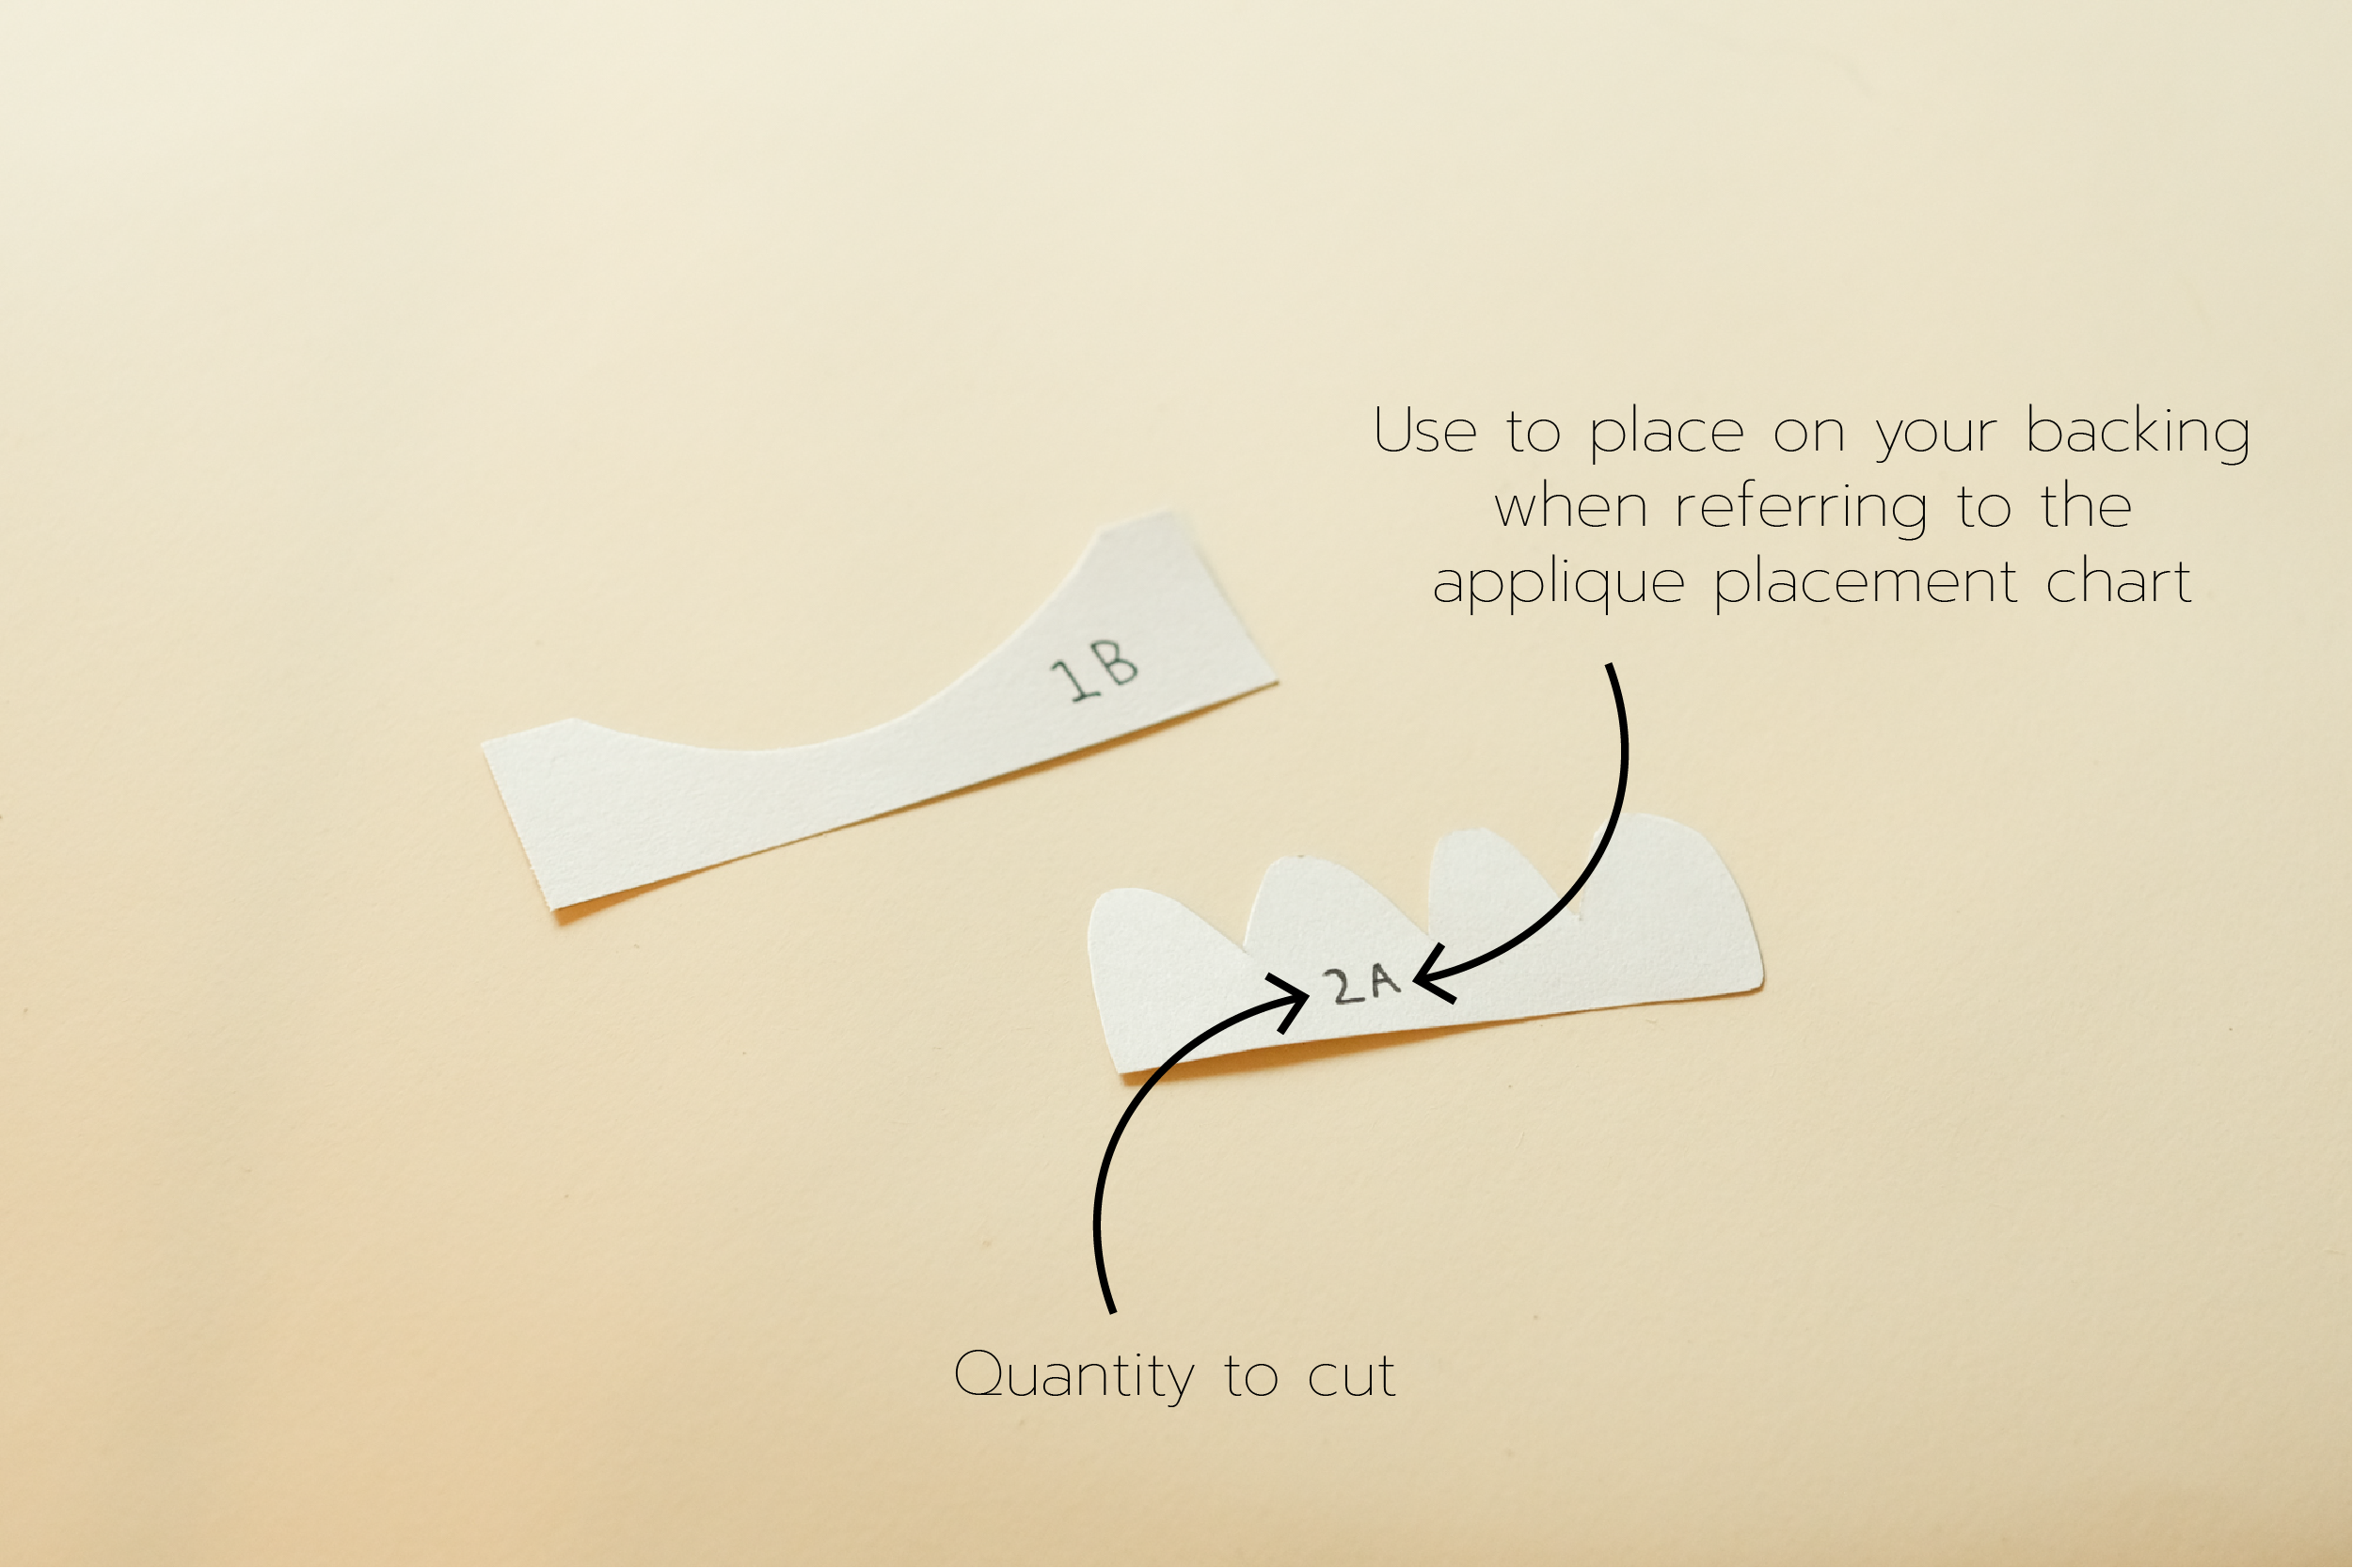
We’ll start by cutting out our appliqué pieces. Grab one of your templates and place it on top of the corresponding fabric. Refer to your appliqué placement chart to see the color for each piece. The letter will be used to reference placement and corresponding fabric. The number will be the quantity you are cutting.
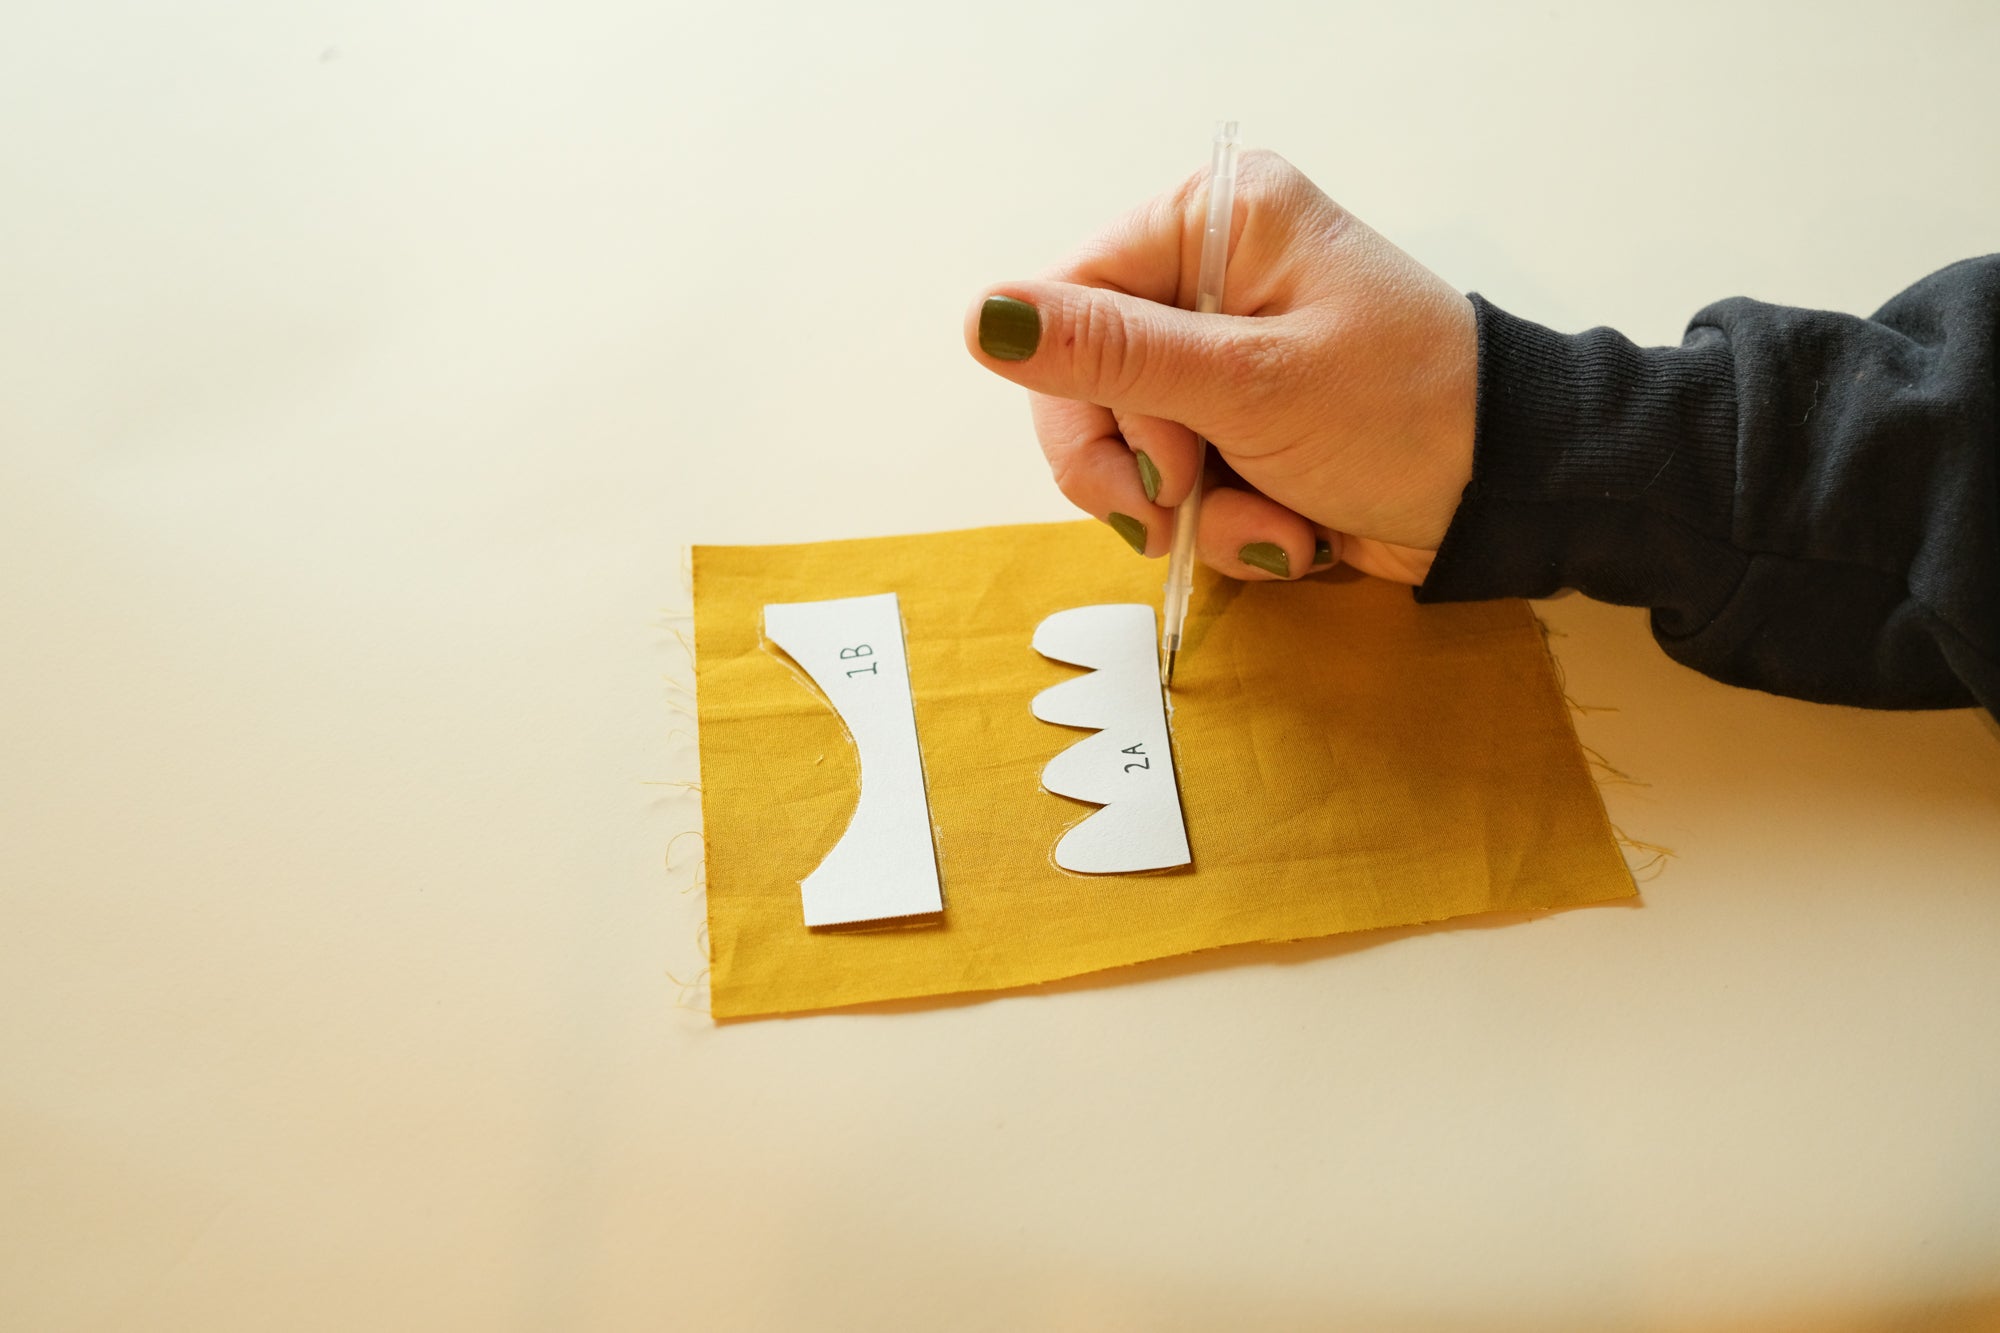
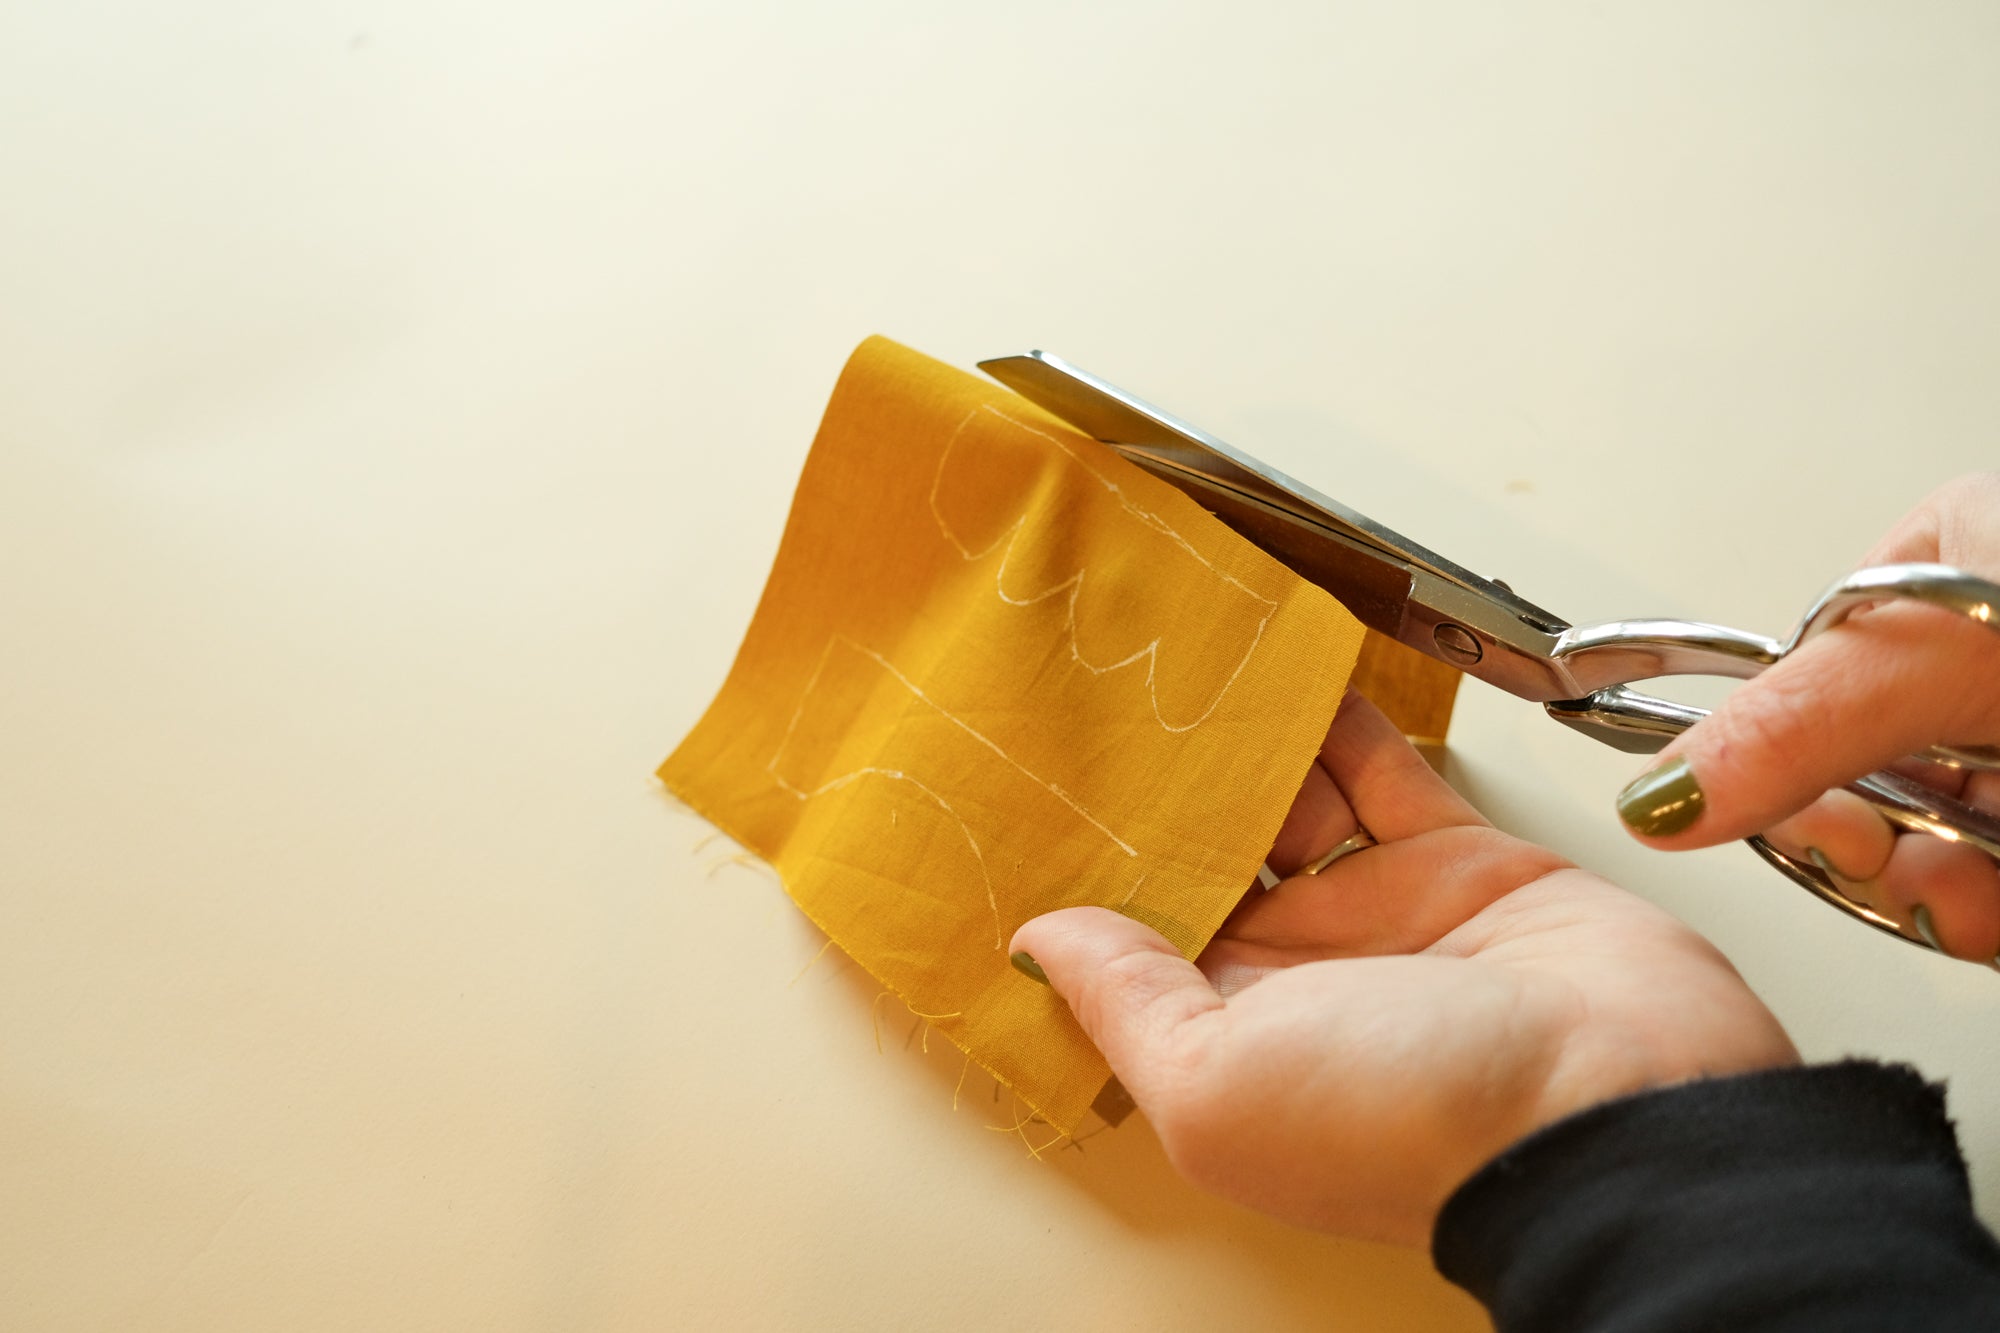
Place each piece onto the corresponding fabric with the number/letter facing up, so you can see it. This will ensure that the piece is cut the correct direction! Using one of the fabric pens (they are heat erasable and don’t need to be placed into another pen to be used), trace all the way around the template, onto the fabric.* Get your scissors and cut about 1/4”-1/2” bigger than the line you just drew - this extra space is called a seam allowance.
This part is kind of a balancing act, as cutting the seam allowance too big can cause things to look bulky or result in curves that aren't very smooth. Cutting the seam allowance too small will cause issues with fraying and make it difficult to turn under. If you aren't sure, always err on the side of caution and cut the seam allowance large for now, as you can trim it down while sewing the appliqué piece on!
Repeat with all of the templates in the amounts shown on each piece.
*Just a note regarding the fabric pens included in the DIY kits - they will appear to be barely visible until they dry! If you have problems seeing the lines you draw, give it a moment to dry and they should appear pretty opaque.